Skip to content
OpenCms documentation

Now that your new site is set up using the Mercury template, the next step is to create the site structure—the foundation for organizing your pages and navigation.

In this guide, we’ll walk through how to structure your website using the Sitemap Editor in OpenCms, and explain the core concepts behind page creation, navigation, and sub-sitemaps.

In OpenCms, the site structure directly mirrors the URL structure of your website. This structure is managed using the Sitemap Editor, accessible from the top toolbar in the OpenCms workplace.

Therefore, each site in a multi-site setup has its own independent sitemap.

To use the Sitemap Editor, your user role must include EDITOR. Users with only the ELEMENT AUTHOR role cannot create pages via the Sitemap Editor.

Always use the Sitemap Editor, not the Explorer, to build your site structure and navigation.

Create a new page in the Sitemap Editor
  1. Open the Sitemap Editor.
  2. Click "Add Pages" in the toolbar.
  3. Select a template model.
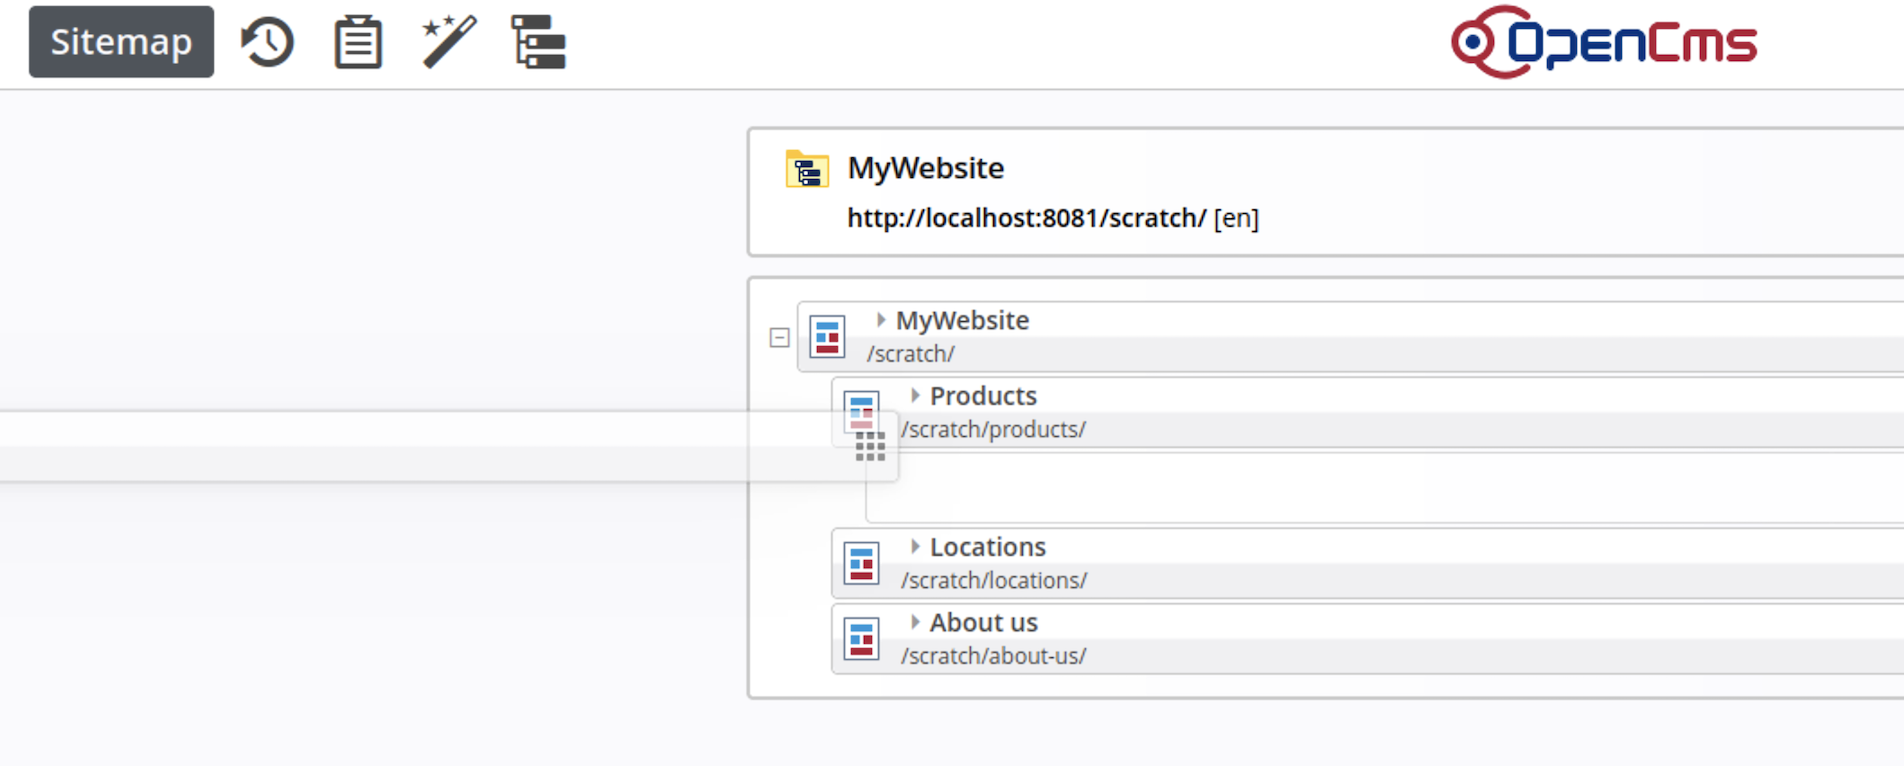
  4. Drag the new page to the desired location and rename it.

By default, a new page is named "page". Simply click on the name to rename it. You’ll also see the URL the page will use.

You can:

  • Re-order pages using the "nine dots" icon.
  • Nest pages (create subpages) by dragging a page onto another page’s icon.

Let’s create a basic site structure:

Top-Level Pages:

  • Products
  • Locations
  • About Us

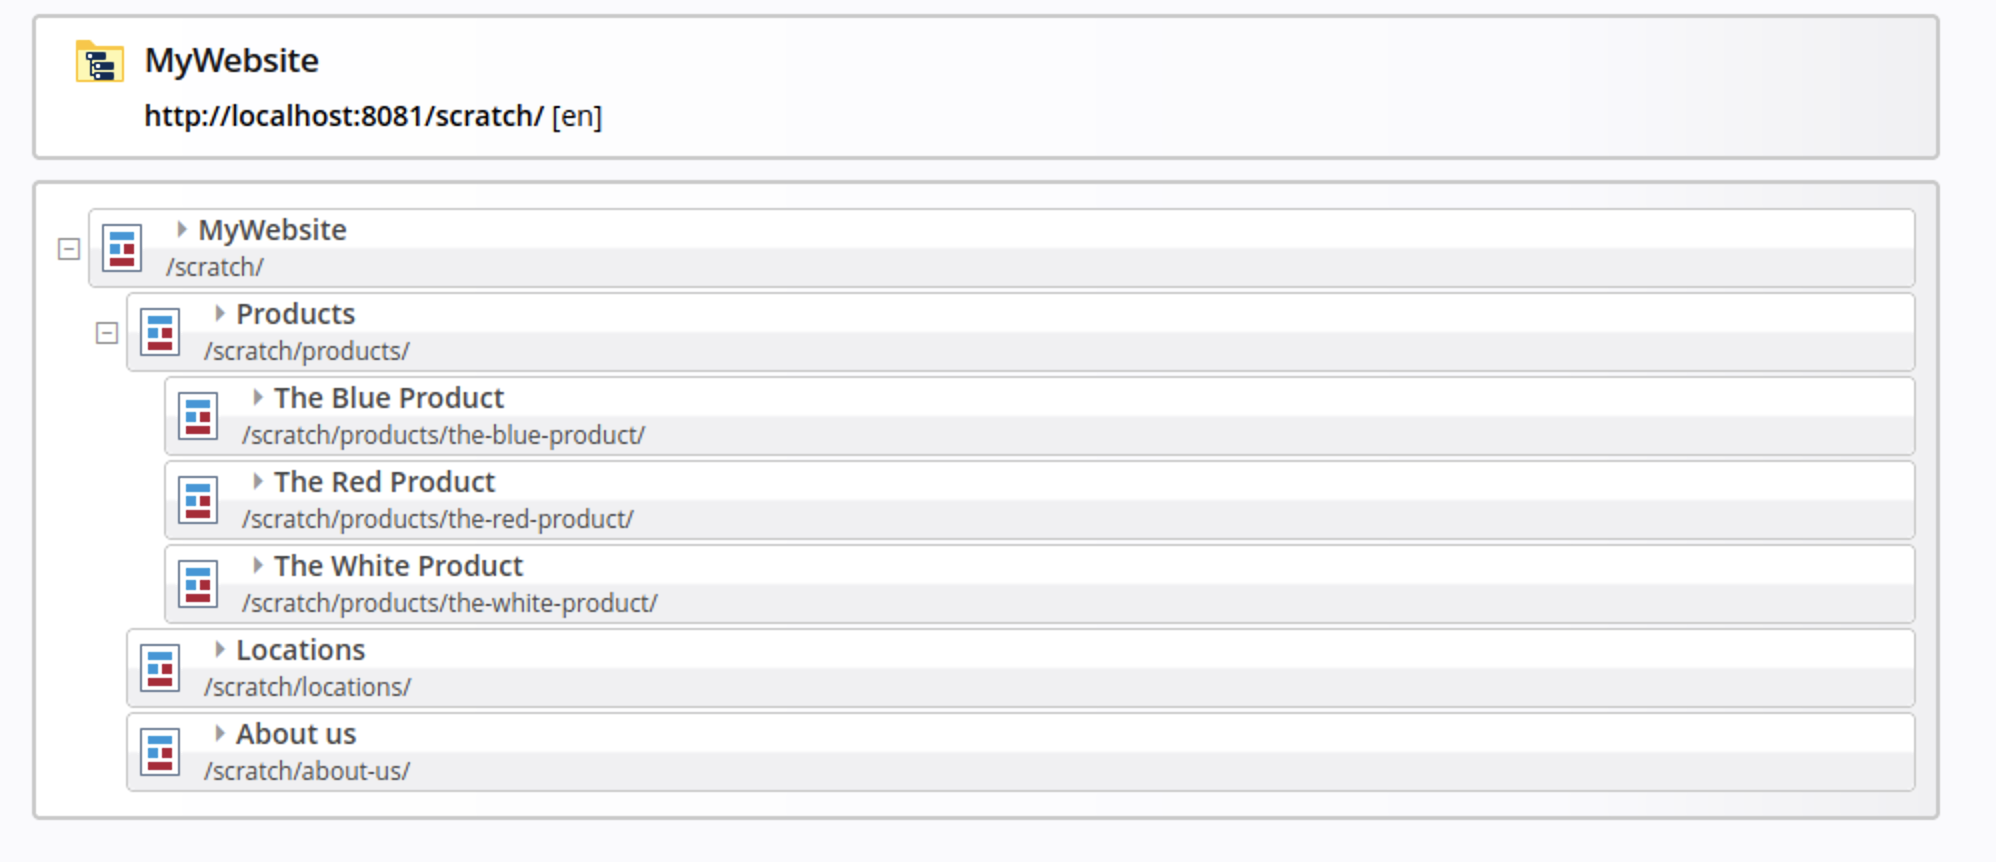
Subpages under “Products”:

  • The Blue Product
  • The Red Product
  • The White Product
Multiple pages in the Sitemap Editor, renamed
  • Create a page under the site root and name it Products.
  • Repeat for Locations and About Us.
Main navigation
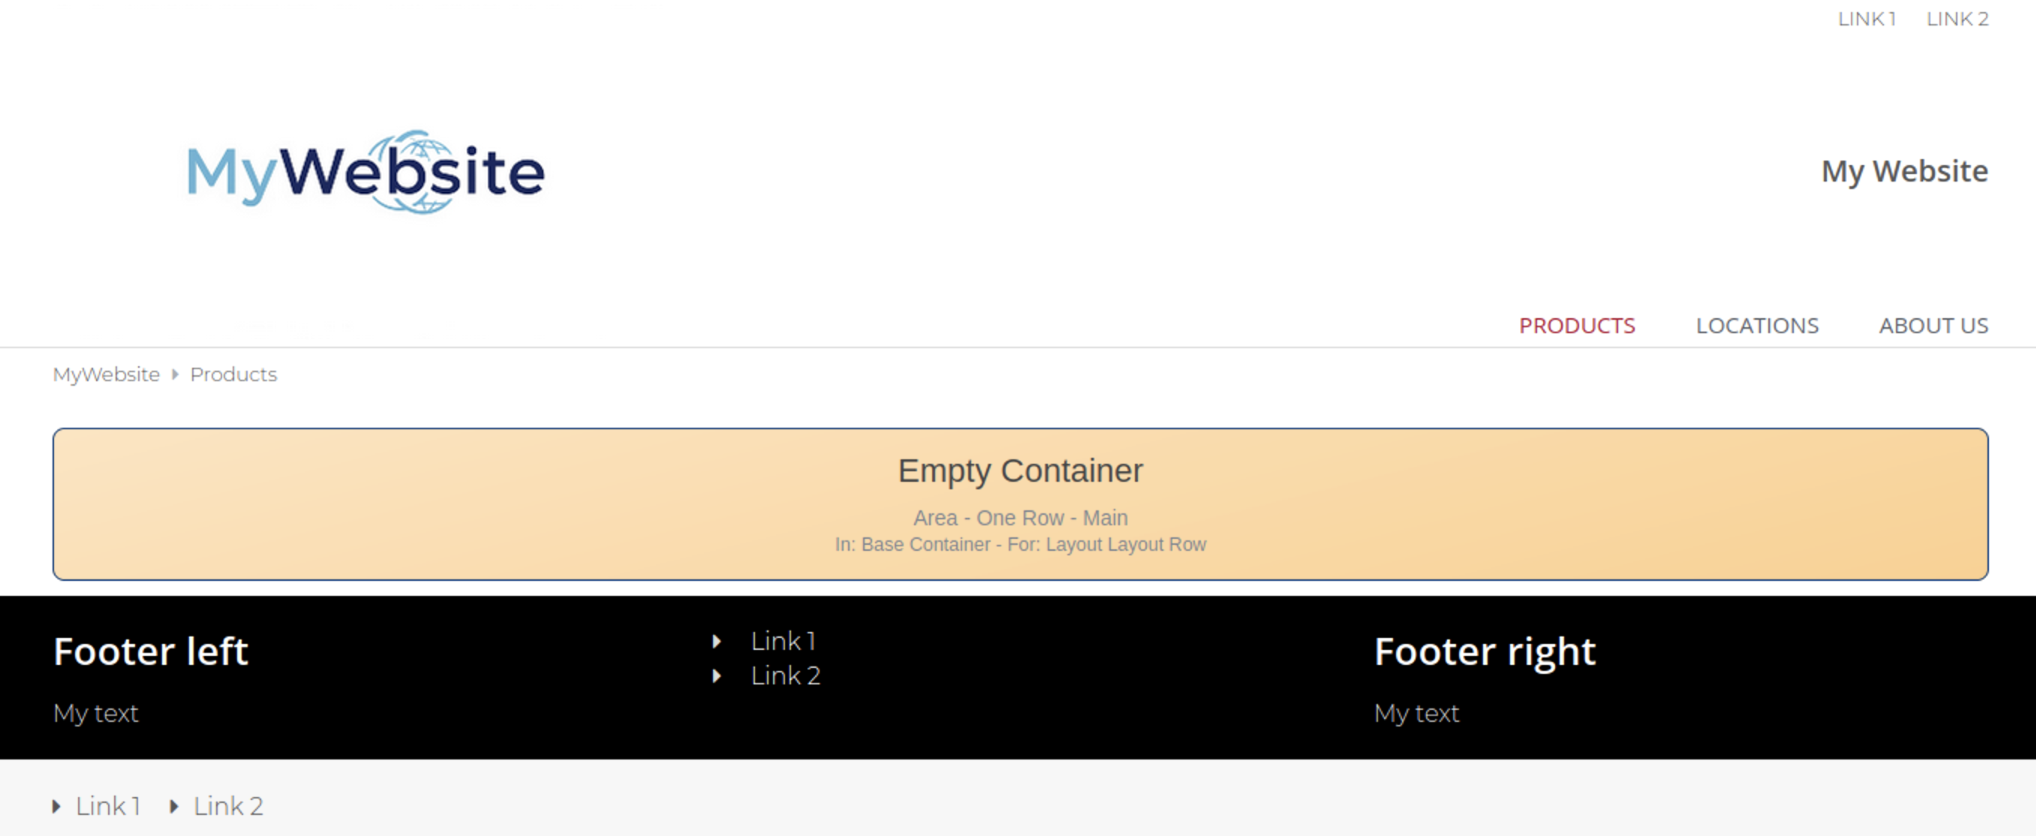
  • Click the icon of the Products page to open the Page Editor. You’ll see the three top-level navigation items.
  • Rearranging pages in the Sitemap Editor automatically updates the navigation.
Drag & Drop a new child page in the Sitemap Editor
  • Create a child page by drag it onto an exisiting sitemap entry.
Child pages, renamed in the Sitemap Editor
  • Create three new pages and drag them onto the Products icon to make them subpages.
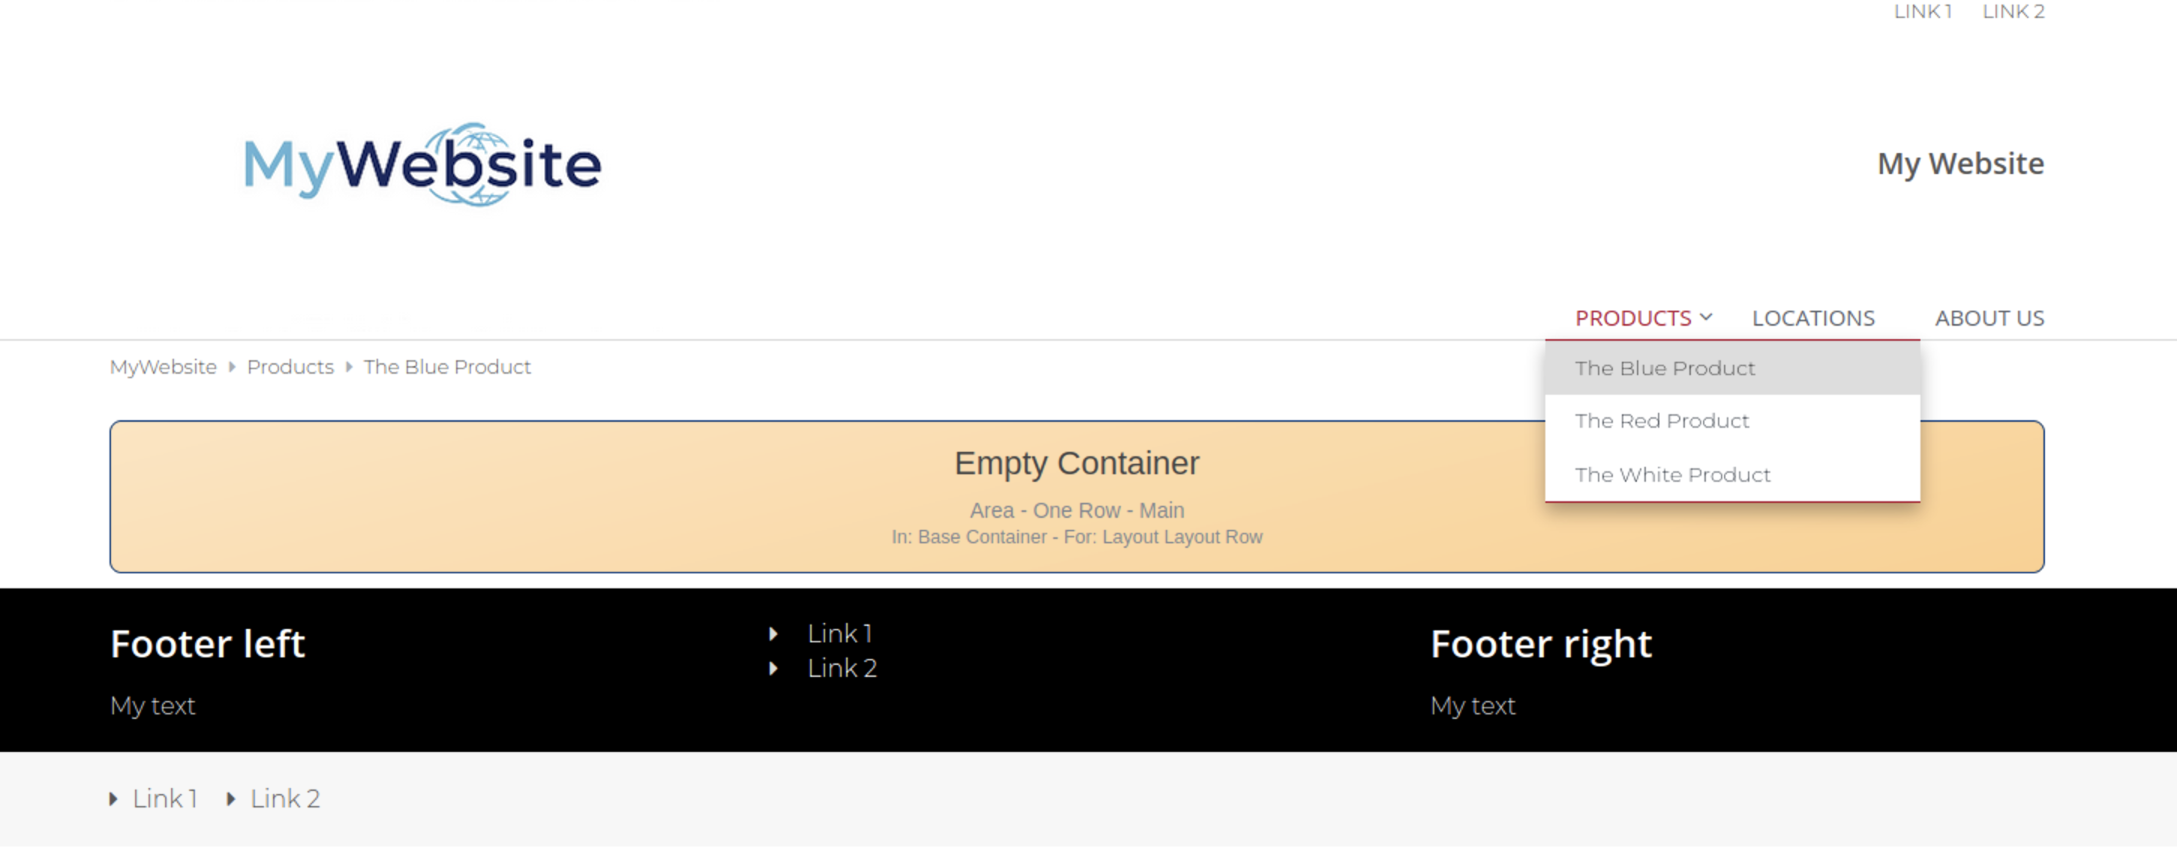
Main Naivgation with second level
  • Click Products again in the Page Editor—you’ll now see the second level navigation.
Hide in navigation

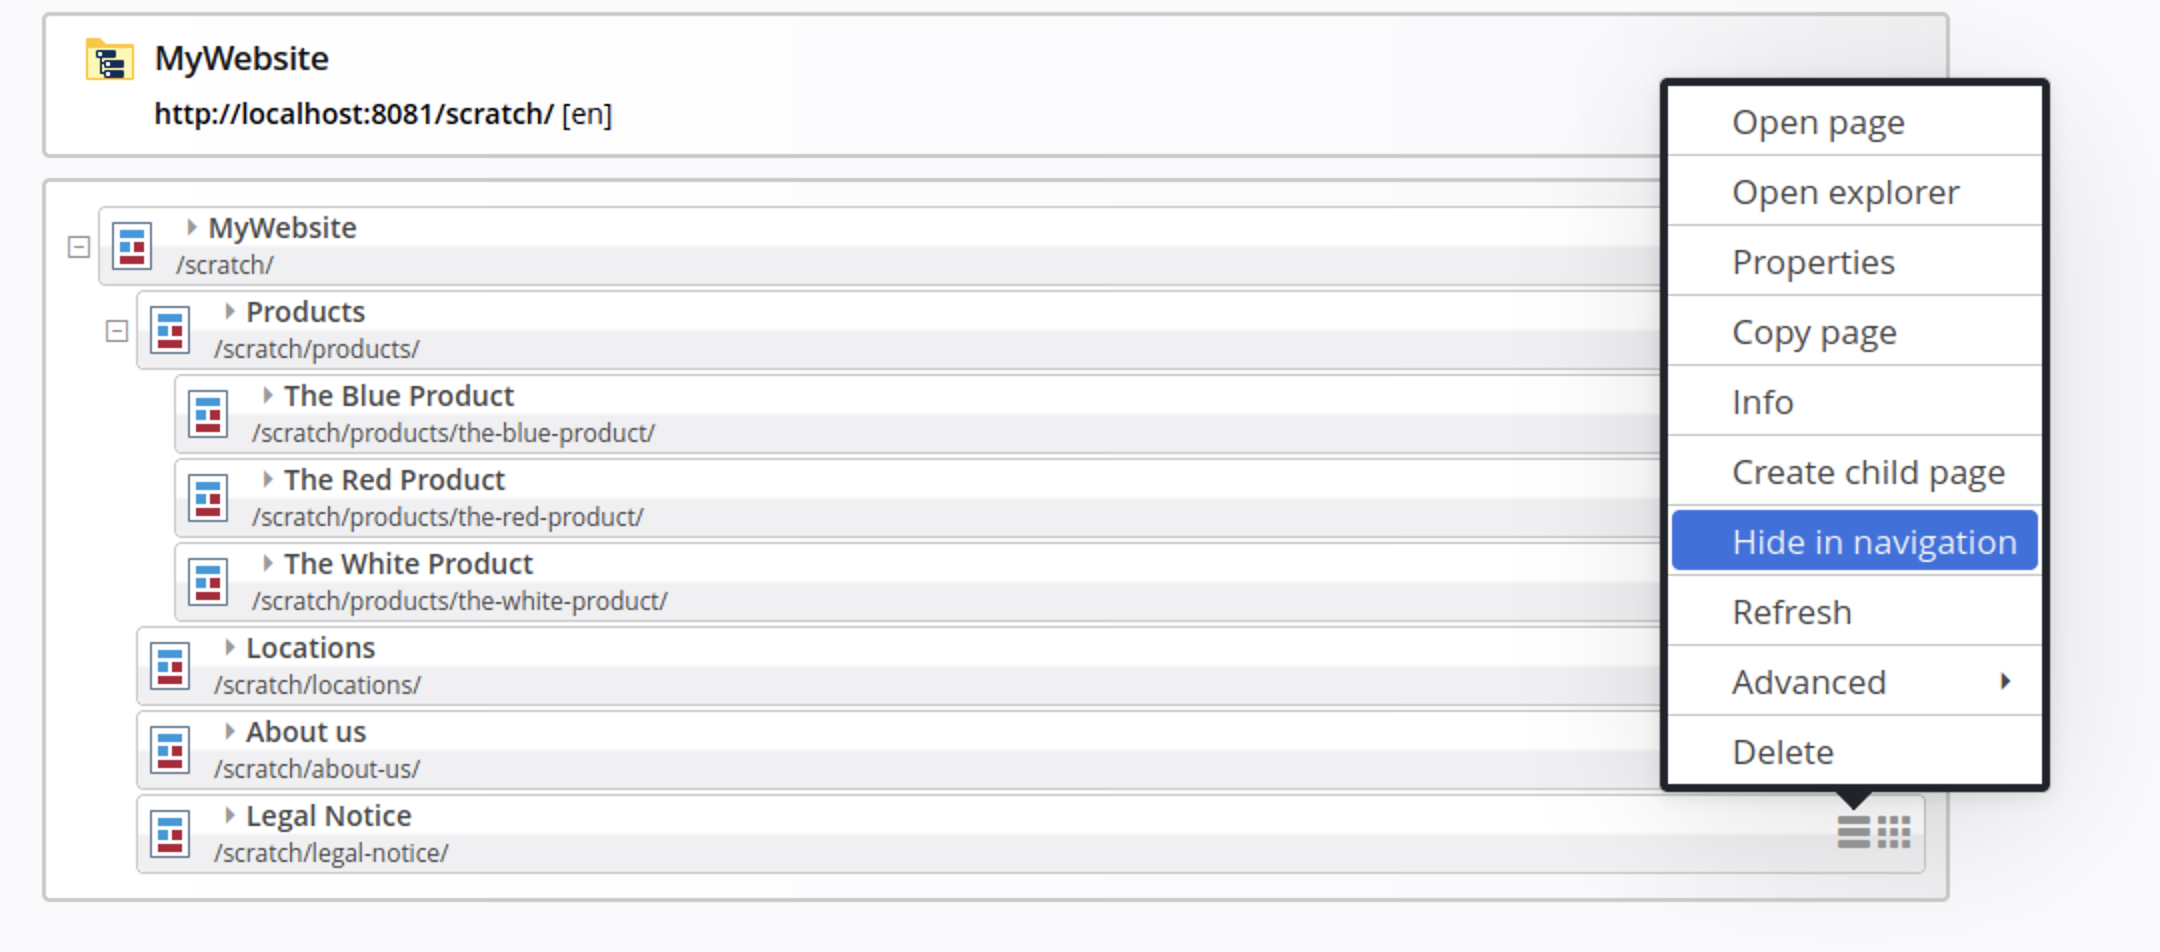
Sometimes you’ll want pages that exist in the sitemap but don’t appear in the navigation—for example, a “Legal Notice” page linked from the footer.

To hide a page:

  1. Create the page as usual.
  2. Open the context menu (burger icon) for that page.
  3. Click “Hide in Navigation”.
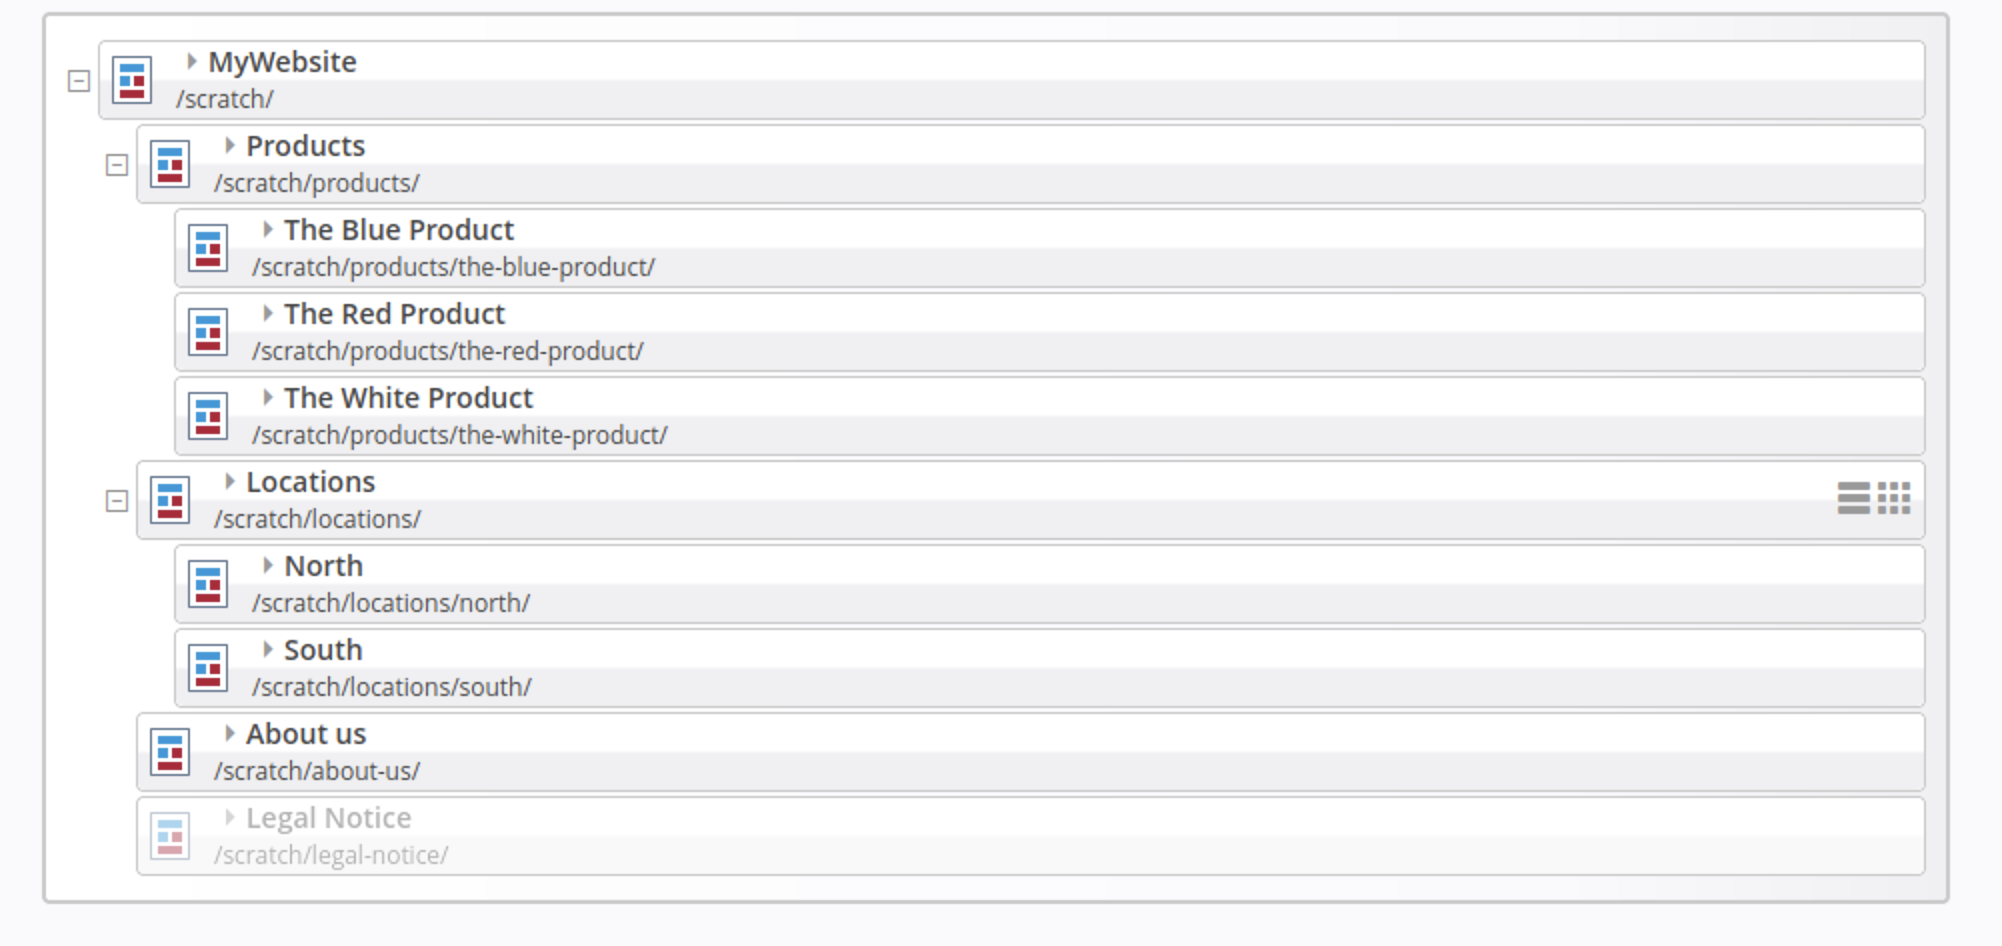
Hidden sitemap entry in the Sitemap Editor

The page will appear dimmed in the Sitemap Editor. To show it again, use “Show in Navigation” in the same menu.

Navigation level

A Navigation Level is a special type of folder that automatically redirects to the first container page inside it. Use this when you want to group subpages in the navigation without needing an overview page.

To create a Navigation Level:

  1. Click “Add Pages” in the toolbar.
  2. Go to the “Function Pages”
  3. Select and drag the Navigation Level item into the sitemap.

You can define subtrees within your sitemap as Sub-Sitemaps. These behave like mini-sites with their own:

  • Sitemap configuration
  • .content folder for storing contents
  • Template models, headers, and footers

They still inherit all components from the parent sitemap.

Hidden sitemap entry in the Sitemap Editor
  • Under Locations, create two pages: North and South.
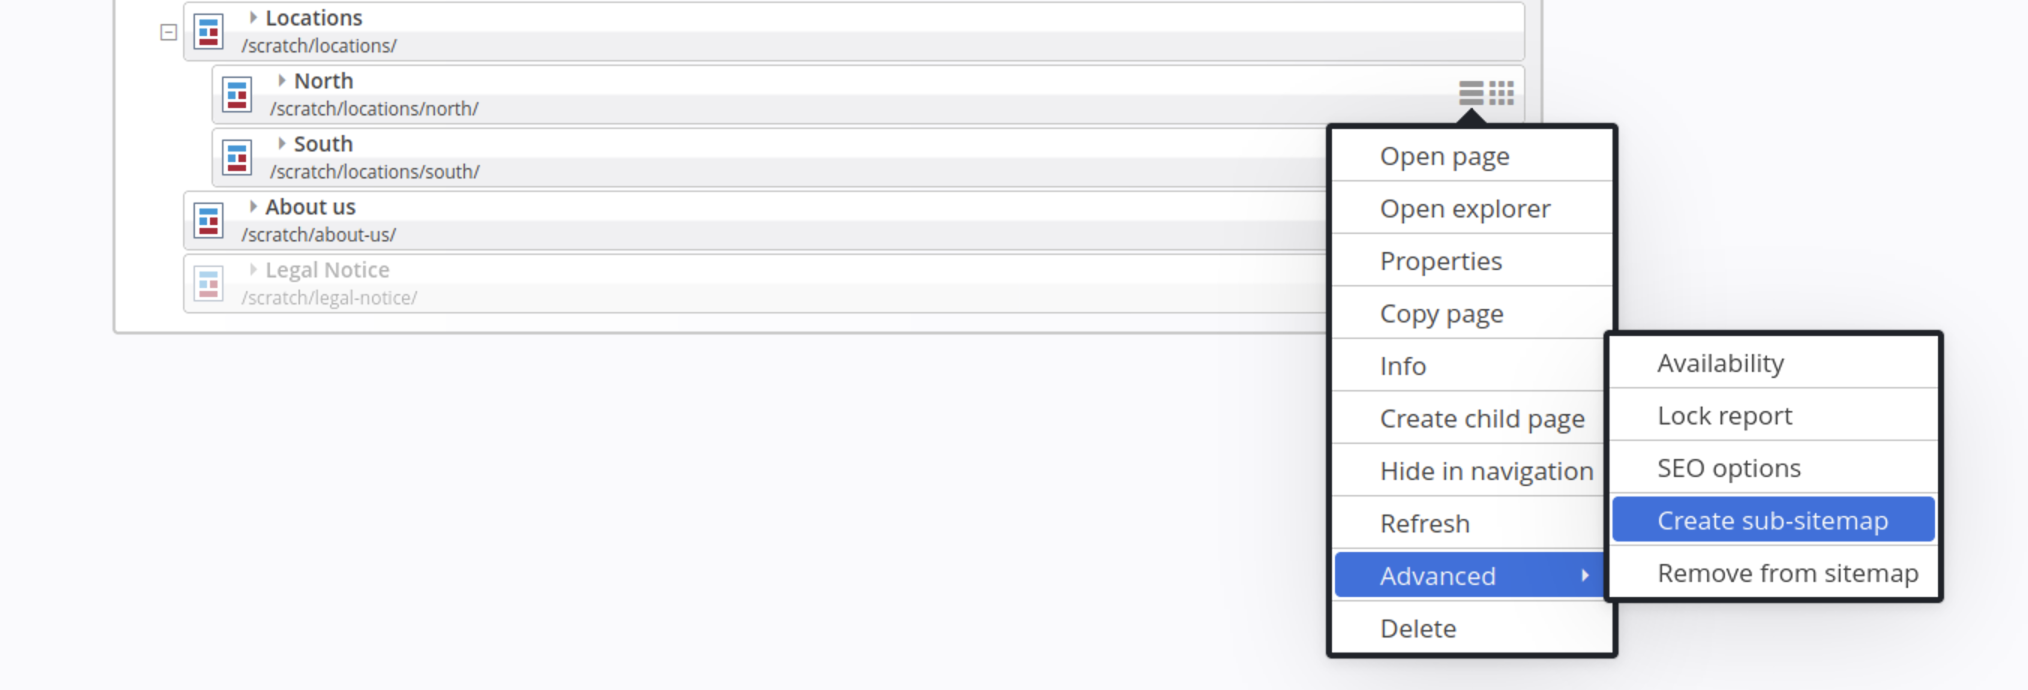
Create a sub-sitemap
  • Right-click each page and go to Advanced → Create Sub-Sitemap.
  • Confirm the dialog. A separate sitemap config and .content folder will be created.
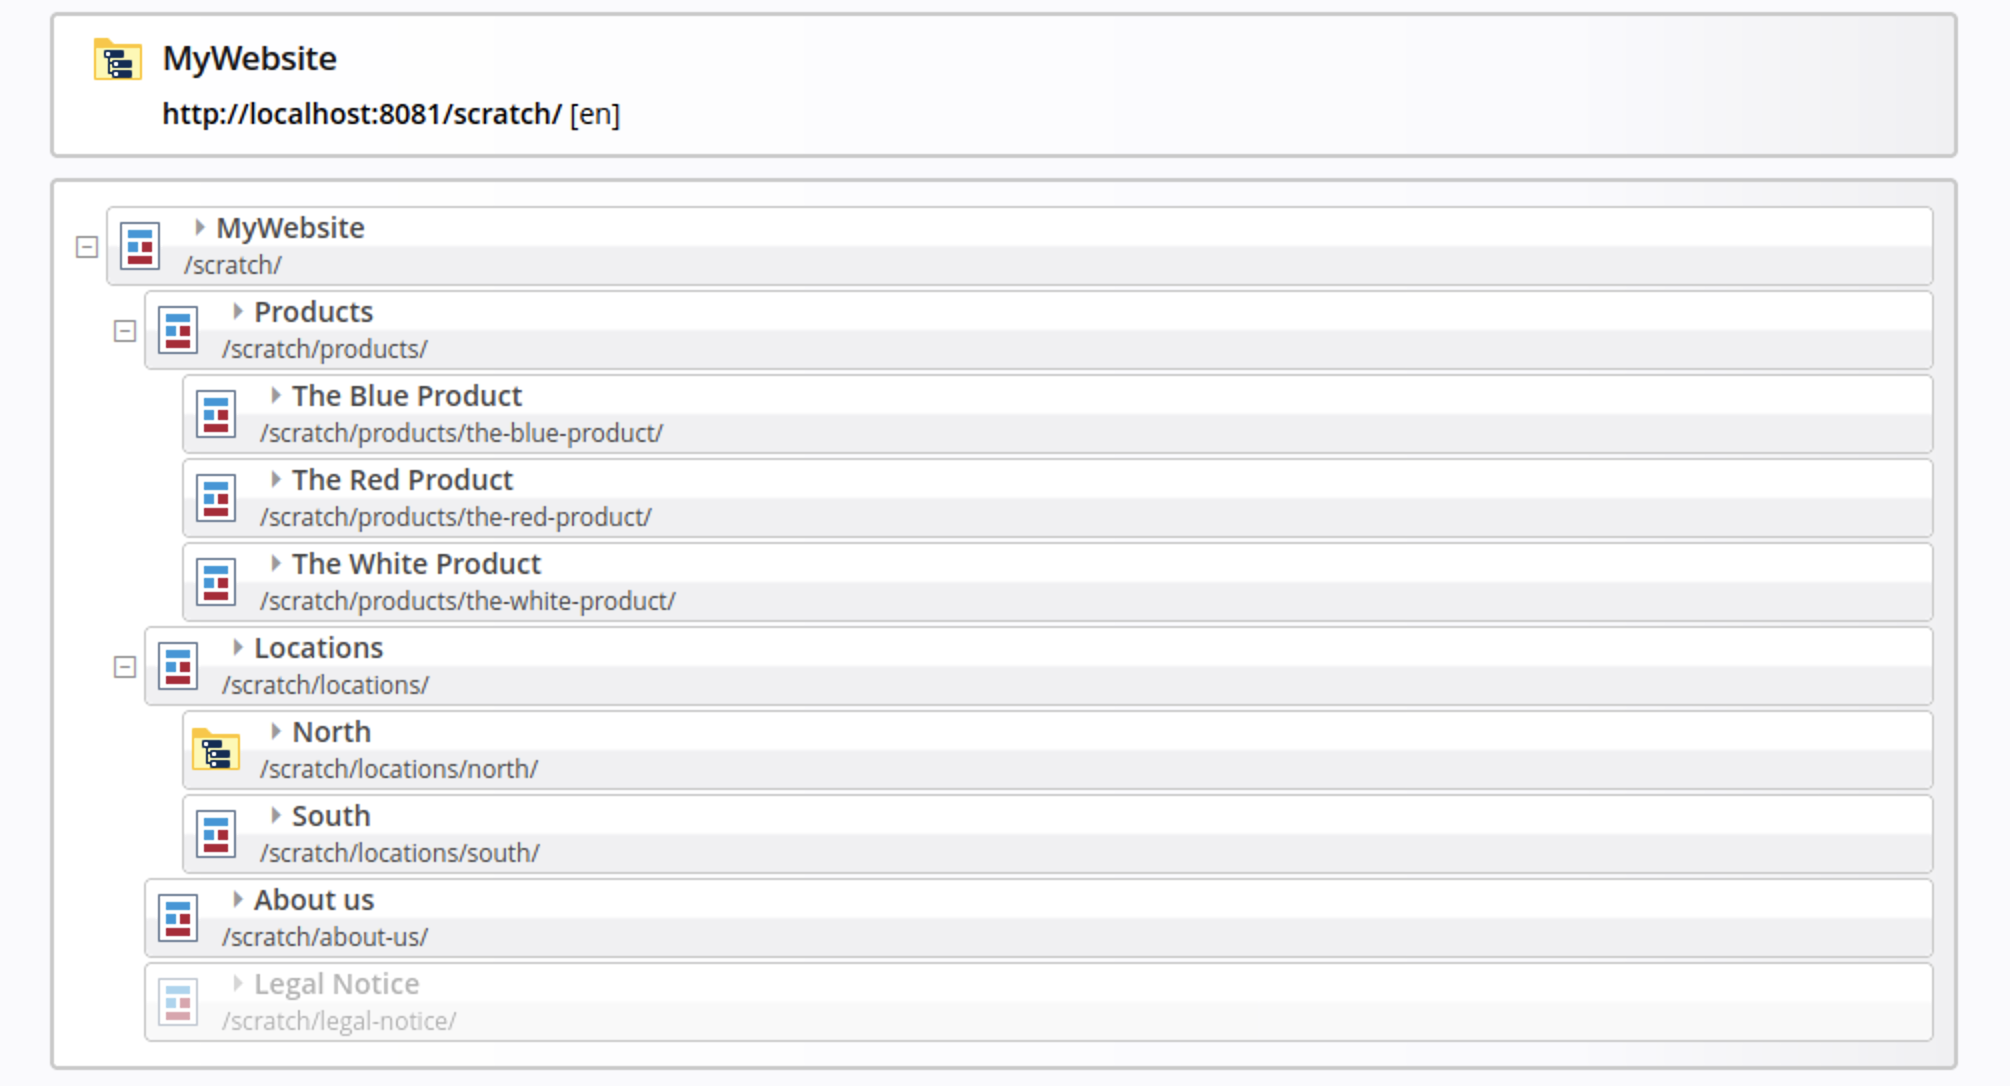
Subsitemap in the Sitemap Editor

In the Sitemap Editor, sub-sitemaps have a special icon. 

Entering the Subsitemap in the Sitemap Editor

Clicking them switches the view to that sub-sitemap. Use the up arrow to return to the parent sitemap.

By default, content elements are stored in the .content folder at the site root. However, sub-sitemaps can store their content locally, which is useful for managing permissions or editor access.

To enable local content storage:

  1. Open the subsite in the Sitemap Editor.
  2. Click the burger menu in the toolbar → Advanced → Sitemap Configuration.
  3. Enable “Local content elements.”

This helps organize content for different sections and delegate access to specific teams.

For more detailed instructions and features of the Sitemap Editor, visit the official OpenCms documentation.