After installing OpenCms with the Mercury template, a frequently asked question is how to create a new website using it. This step-by-step instruction guides you through all the required steps for setting up a new site in OpenCms, configuring it to use the Mercury template, and creating the basic configurations for your own header and footer.

The first step is to create a new website in OpenCms.
- Open the Launchpad and choose the Websites app.
- Click the New icon (the "Magic Wand") in the toolbar.
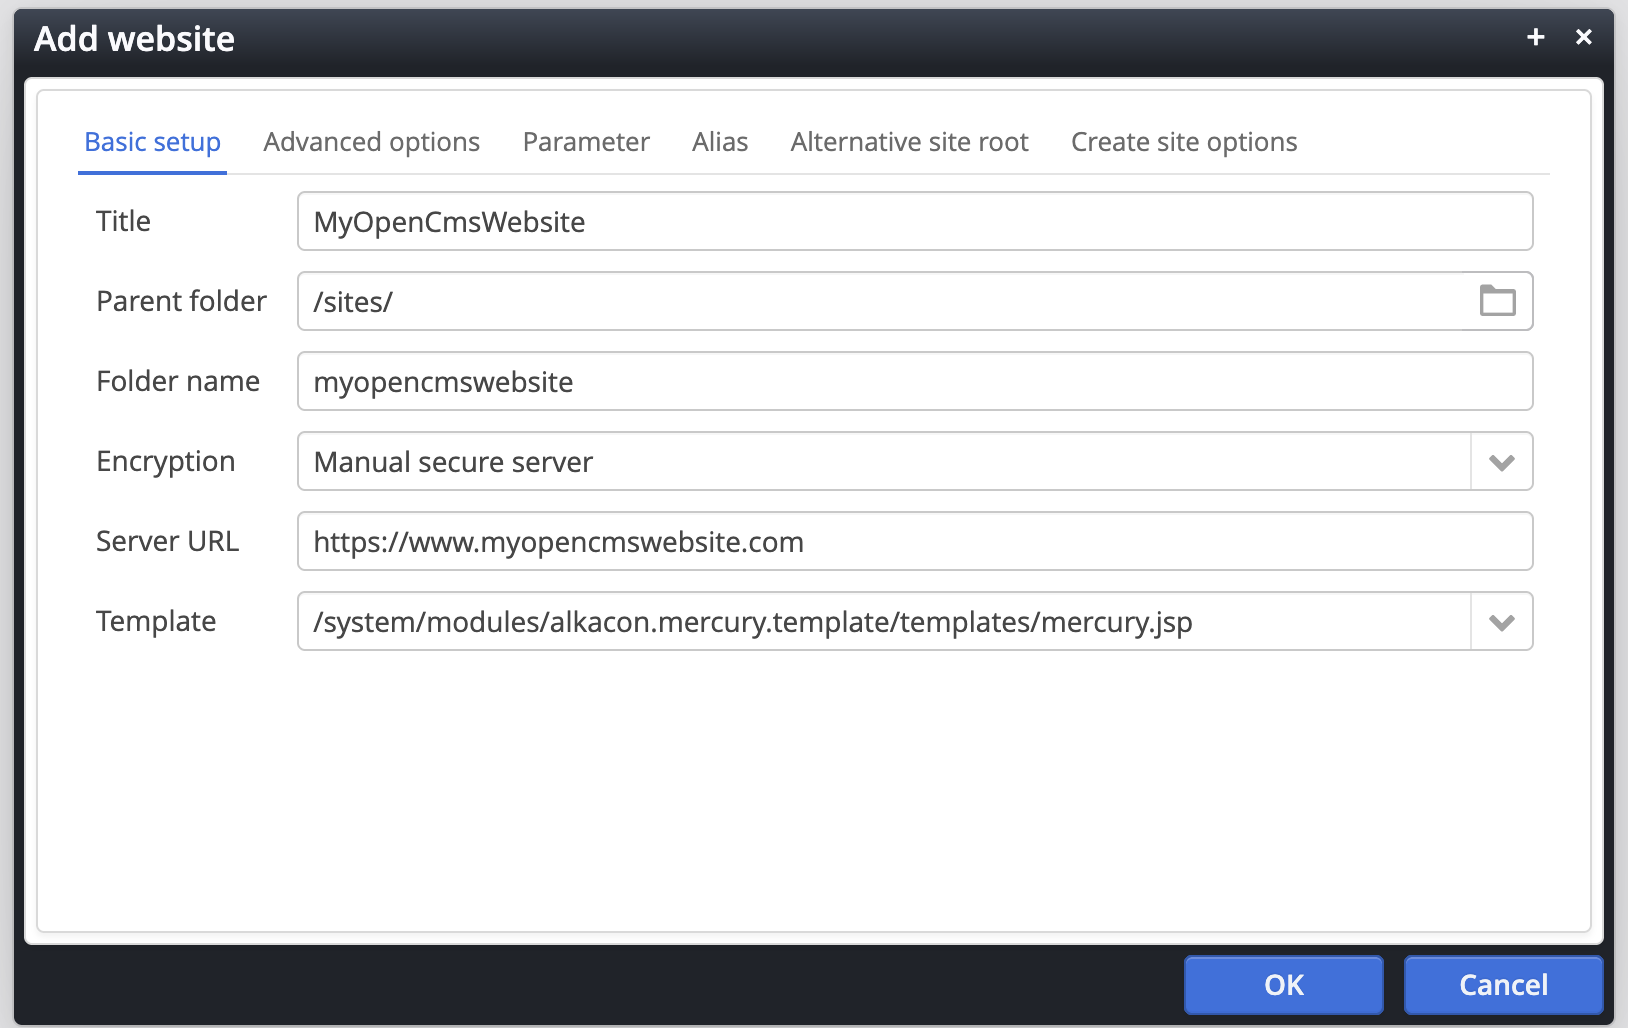
- Enter a Title (e.g. MyOpenCmsWebsite) and the Server URL.
→ The Folder name is generated automatically from the title, but you can change it. - Make sure the Template field contains:
/system/modules/alkacon.mercury.template/templates/mercury.jsp - Click OK. OpenCms creates the site and its basic files.
You now have a “raw” website. Next, we’ll tell OpenCms to use the Mercury template.
To tell OpenCms that a site should use the Mercury template, set up the site's Master configuration as follows:
- Switch to the Explorer view.
- In the site selector, pick your new site (e.g. MyOpenCmsWebsite).
- Edit the file
/.content/.config. - In the first tab Content elements, in Master configuration, enter:
/system/modules/alkacon.mercury.template/configuration/mercury.master.xml - Save and exit the configuration.
The master configuration file contains all the necessary definitions for the Mercury template. Configuring it makes the Mercury content types and formatters available in the Add content menu.
The next step is to set up a template model so that new pages can share a common layout.

A template model is a blueprint that is copied when a new page is created. Template models are later used by content managers to create new pages in the OpenCms Sitemap editor.
A template model typically contains several Model groups. These are blocks of shared content. Any changes you make to the model group later are automatically reflected in all pages that use that group.
Create model groups
We’ll build two reusable model groups - Header and Footer - and plug them into the template model.
- Open the Sitemap editor, click the grey Sitemap icon in the toolbar and choose Templates.
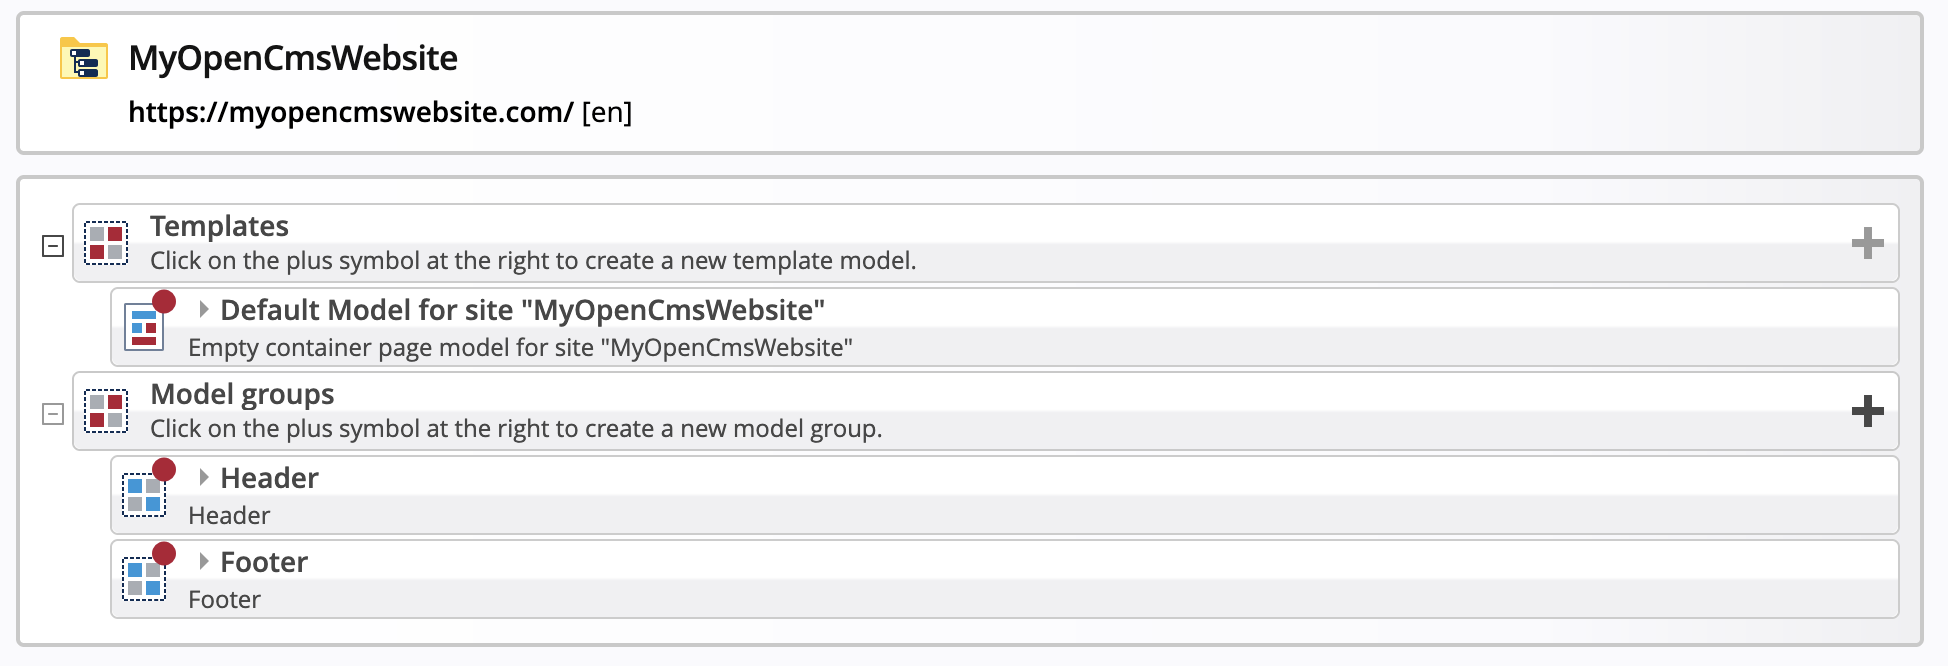
→ You see a "Default Model for site MyOpenCmsWebsite" below Templates and no entry below the Model groups. - Create a new model group for the Header by pressing the plus button on the right of the Model Groups item.
→ Set both Title and Description to Header. - Create a new model group for the Footer in the same way.

Mercury has a function that can build various header layouts - logo, navigation bar, and more. The setup may look tricky, but you only do it once per site.
- Click on the model group Header.
→ You now see an empty page with a red container. - Click Add content in the toolbar and select Types → Template elements.
- Click Layout group and drag & drop Mercury header with flexible layout option into the red container.
→ You now see a green empty container and an orange message box. - Click Add content again and select Types → Advanced Elements.
- Click Dynamic Function and drag & drop Header Configuration into the green container .
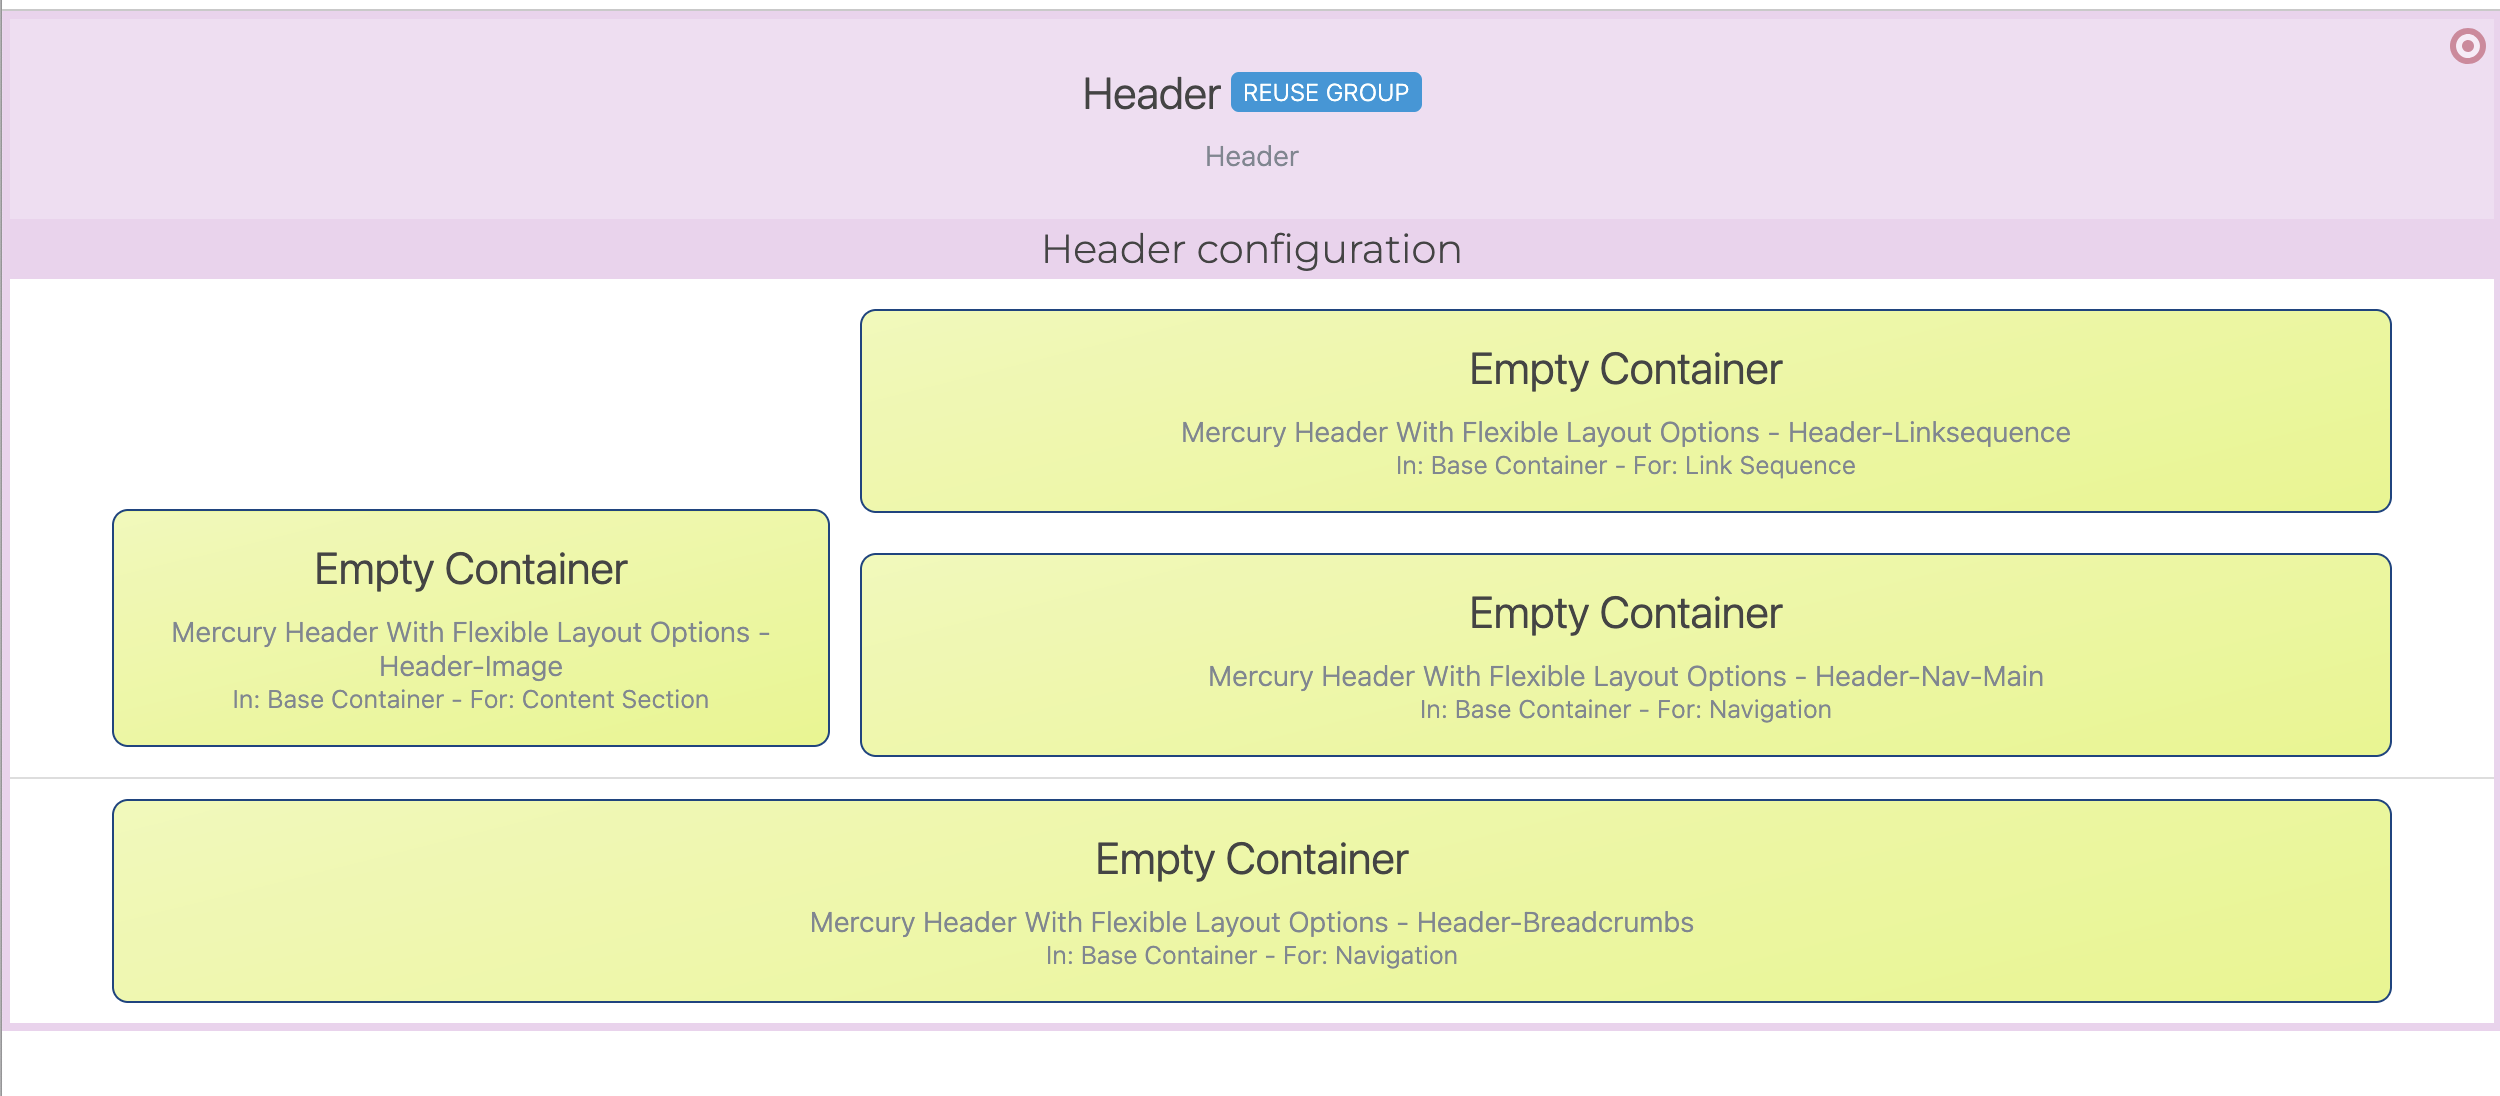
→ The page will automatically reload and show four new containers, which we will use later to place some content elements in our header. - Press "CTRL-E" (or "Cmd-E" on macOS) until you see the message Switched view: Template elements.
- From the edit point in the top right, select Settings ("gear icon") and choose Reuse elements as the group type.
→ The box at the top of the page now displays Reuse Group.
The Header Configuration function controls the header’s structure - by setting the containers and arranging their content.
- To adjust the layout, press "CTRL-E" (or "Cmd-E" on macOS) until you see the message Switched view: Content elements.
- Select Settings (the "gear icon") from the Header Configuration edit point.
- Here you can:
- Set the size and layout of the logo.
- Enable and arrange the header links.
- Show and style the page title.
- Adjust the layout of the navigation.
- And more....
We'll stick with the default settings for the rest of this guide, but feel free to explore these options to see how they affect your layout.

To complete the header, different content elements have to be placed in the four containers of the header.
- Click Add content in the toolbar and select Types → Content elements.
- Drag and drop a new Link Sequence into the top right container.
→ These will be the top header or “service” links. - Click Add content again and drag and drop a new Content Section into the top left container.
→ This section defines the header image, website title, and the link for the image. - Click Add content and select Types → Advanced elements.
- Drag and drop a new Navigation into both of the remaining containers.
→ This will add the main navigation and breadcrumb. Edit the content and enter a title.
When you drag and drop the content elements in the header you have to edit them with their edit points and save them once. Otherwise the empty elements will be removed again.
Once you are done with the header configuration, return to the Sitemap to create the Footer group.

The footer group can be configured with containers for footer links and other info boxes.
- In the sitemap editor, click on Footer.
→ You will now see an empty page with a red container in it. - Click Add content in the toolbar and select Types → Template elements.
- Click Layout group and drag & drop Mercury footer full into the container.
-> This will now show two orange containers which we will later use to put content elements in our footer. - Press "CTRL-E" until you see the message Switched view: Template elements.
- From the edit point in the top right, select Settings ("gear icon") and choose Reuse elements as the group type.
→ The box at the top of the page now displays Reuse Group.

The footer allows a lot of flexibility in its layout and content. It can easily be modified for other appearances.
We start with adding some rows first:
- Click Add content in the toolbar and select Types → Template elements.
- Click Layout Row and drag & drop Row 3 Columns (4-4-4) into the upper container.
- Click Add content again.
- Drag & drop the Row 1 Column (12 -full) into the lower container.
Fill the containers with Content Sections or Link Sequences as needed (e.g., company info, quick links, legal notice).
When you drag and drop the content elements in the footer you have to edit them with their edit points and save them once. Otherwise the emtpy elements will be removed again.
Once you are done with the footer configuration, return to the Sitemap to configure the template model.

To create the template model, we will use the header and footer model groups we created in the previous steps.
- Open the Sitemap editor, click the grey Sitemap icon in the toolbar and choose Templates.
- Click Default model for site MyOpenCmsWebsite.
→ You will now see an empty page with a red container in it. - Click Add content in the toolbar and select Types → Template elements.
- Click Layout area and drag & drop the Area - One row into the page.
→ You will now see a new orange container. This is the area where the individual page content will be entered later. - Click Add content in the toolbar and select Types → Advanced elements.
- Click Model group and drag & drop the Header model group above the layout area from the previous step .
- Click Add content again.
- Drag & drop the Footer model group below the layout area.
With the template model created in the previous steps, you and your content managers can now use drag and drop to create new pages in the Sitemap Editor.
- Open the Sitemap editor, click the grey Sitemap icon in the toolbar and choose Sitemap.
- Click Add pages in the toolbar and drag and drop Default model for site MyOpenCmsWebsite into the sitemap tree.
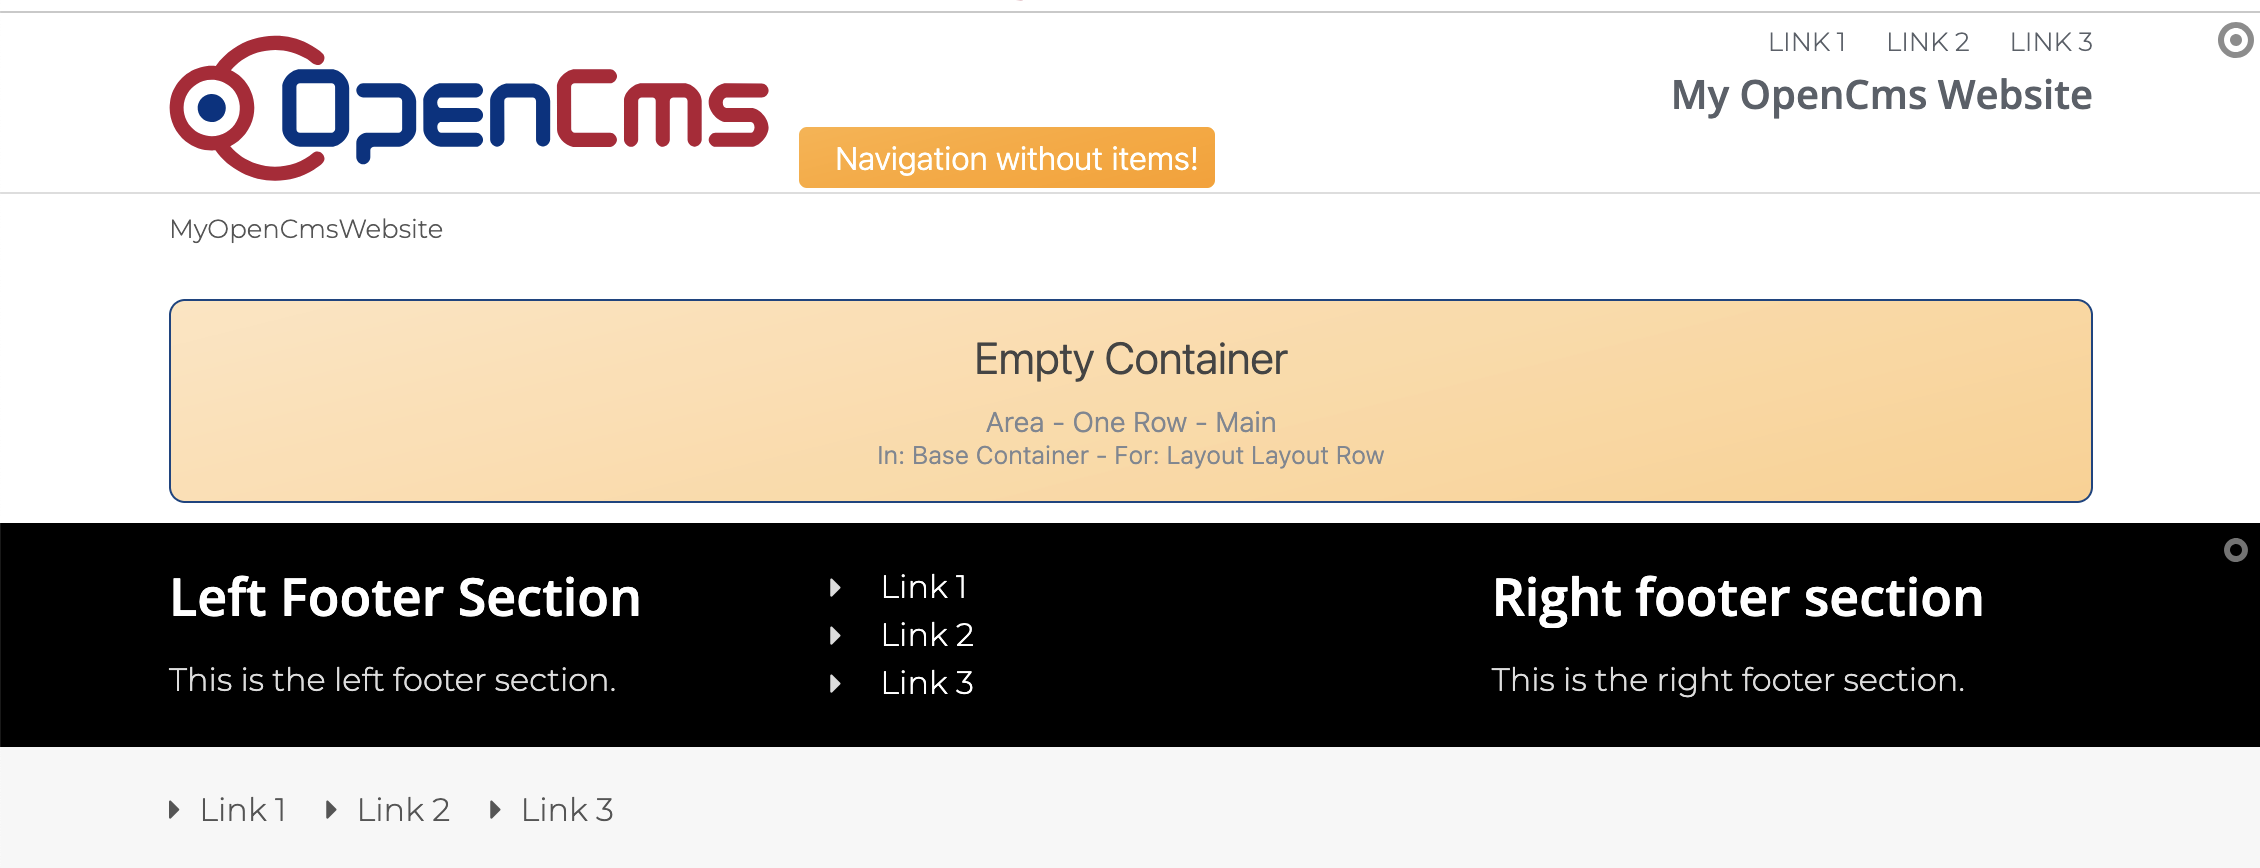
→ The new page is now called "page", you can rename it by directly clicking on the name. - Click on the newly created page, it will open in the page editor, showing the header and footer you have created.
- Click Add content in the toolbar and select Types → Template elements.
- Click Layout Row and drag and drop any row into the orange container. You can add multiple layout rows below each other to create the page structure you want.
→ New blue containers show where content elements can be placed. - Fill the blue containers with content as needed.
If required, add a common row layout to your template model so every new page inherits it - you can still tweak it afterward. For alternative row, header, or footer setups, just create additional models.
Since the site was created before the template model, the current index.html file in your site's root doesn't use the correct template model. Follow these steps to fix this:
-
Open the Sitemap Editor
Create a new page and keep the default name "page". -
Switch to the Explorer View
Delete and publish (if required) the existingindex.htmlcontainer page located directly in the root of your site (i.e.,/index.html). -
Move the New Index Page
In the/page/folder, locate the newindex.htmlcontainer page. Move it one level up from/page/index.htmlto/index.html. -
Clean Up
Delete the now empty/page/folder.
Done! Your site's index.html (start page) now correctly uses your template model.